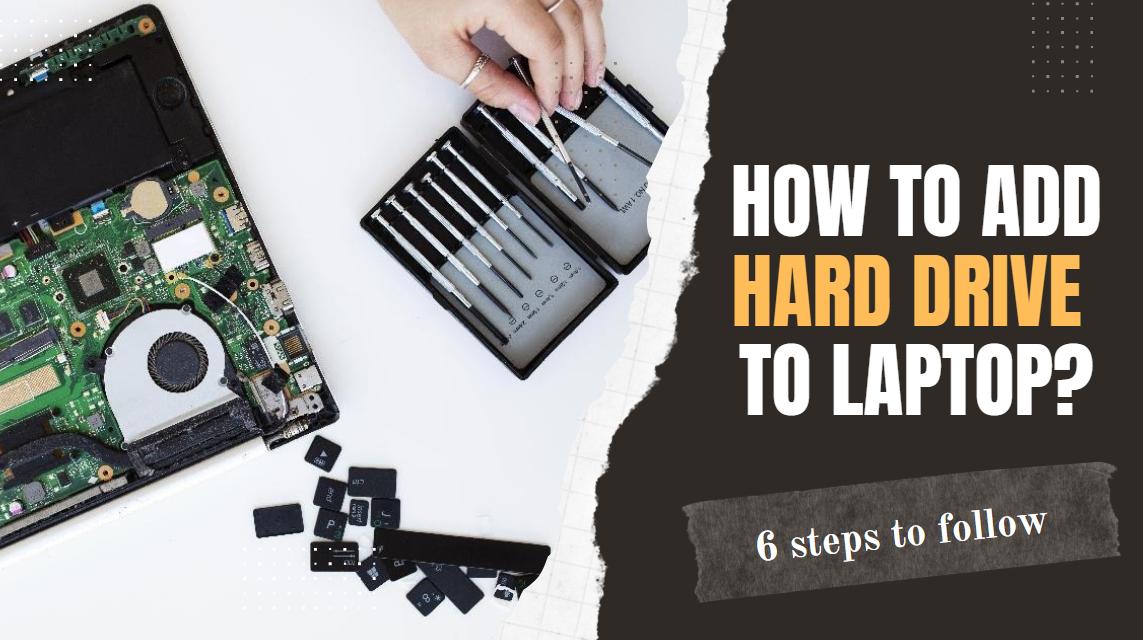
Laptops often come with limited storage. You may easily run out of storage space after downloading some of your favorite movies and PC games. This is a very common issue, and the solution is also straightforward; that is to install an additional hard drive. This article provides a step-by-step guide on how to add a hard drive to a laptop. Even if you are unfamiliar with tech gadgets, you can successfully install a hard drive on your own.
Potential Risks of Self-Installation
Before adding a hard drive to your laptop, know the risks and technical challenges:
1. Opening your laptop can void existing warranties. Manufacturers can place warranty seals over access points.
2. Static electricity may damage the motherboard, CPU, and RAM. Without proper grounding, static discharge can render your laptop inoperable.
3. Moreover, physical mishandling during installation can cause broken connectors or a damaged SATA port.
4. Improper alignment when inserting the hard drive can bend or break pins and cause data loss or hardware failure.
5. If you’re not proficient with your laptop’s internal structure or are unsure about handling these components, consult an expert to avoid these risks.

Key Tools for Hard Drive Installation
The following are the essential tools you need to add a new hard drive to a laptop:
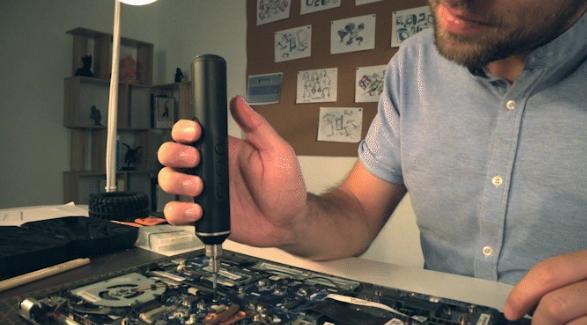
Precision Screwdriver: Precision screwdrivers, often magnetic, can easily handle small screws found in laptops. A precision screwdriver set with various bits can cover most laptop models.
Opener Tool: Laptop openers, including spudgers or plastic laptop pry tools, help remove the bottom panel without scratching or damaging internal components. Specifically, nylon spudgers are recommended for their non-conductive properties to avert electrical shorts.
How to Add a Hard Drive to a Laptop?
1. Remove the Battery
Turn off the laptop and disconnect all external power sources. Then, flip the laptop over. Locate the battery latch (a small switch or slider). Slide or flip the latch to release the battery. Remove the battery while lifting it out of its compartment. It ensures there’s no power running through the laptop while you work on it.
2. Remove the Bottom Cover
Use a precision screwdriver to take out the screws for the bottom cover. They are located around the perimeter and may vary in size. Keep track of the screws since they can be different lengths. Next, use a plastic opener tool to pry open the bottom cover. Insert the tool into the seam and work around the edges to lift the cover off. Avoid damaging the clips holding the cover in place.
3. Locate the Hard Drive Bay
Inside the laptop, identify the hard drive bay. It might be a rectangular space marked or labeled near the motherboard. In many laptops, the bay is close to the edges for access. You may also see a metal bracket or metal caddy that holds the hard drive in place. The bay might have a SATA connector or a slot for an M.2 drive. You should be familiar with the type of drive your laptop supports.
4. Install New Hard Disk Drive
Position the hard drive into the bay while aligning the connectors with the corresponding ports. For instance, for a 2.5-inch SATA drive, slide it into the SATA connector. If using an M.2 drive, insert it at a slight angle and then press it down to secure it with a screw. Secure the hard drive using screws provided with the laptop or the drive itself.
5. Install the Bottom Cover and Battery
Align the bottom cover back onto the laptop. Press down around the edges to snap it into place so all clips are secure. Replace the screws in their original positions. Don’t overly tighten them to avoid stripping the threads. Reinsert the battery while sliding it into its compartment and locking it with the latch.
6. Check if the Hard Drive Works Properly
Power on the laptop and enter the BIOS/UEFI setup. Verify that the new hard drive is accepted in the BIOS. Boot into the OS and check for the new drive in Disk Management (Windows) or Disk Utility (Mac). Initialize and format the drive if needed. Ensure the drive is functioning by running diagnostics or transferring files.
*Disclaimer: Executing hardware modifications can void your laptop’s warranty. Confirm that you comprehend the jeopardies of how to add a hard drive to a laptop before proceeding.
Reliable Tools from Jakemy for Hard Drive Installation
At Jakemy, we provide reliable tools to help you install a new HDD to your laptop worry-free. Our JM-8193 and JM-OP12 are designed to ensure a seamless and secure installation process. The following table highlights their key features:
| Feature | JM-8193 | JM-OP12 |
| Type | electric precision screwdriver set | flexible opening tool |
| Components | 180 pieces, including various screwdriver bits, opening tools, and accessories | high-end stainless steel blade and anti-skid rubber handle |
| Special Features | magnetic box plate, battery icon for real-time monitoring | smart tip design, non-slip grip |
| Material | CR-V & S-2 | memory metal |
| Suitable for | electronic gadgets | laptop, smartphone, and other electronic device repairs |
| Design | high volume container, modern and stylish | compact and portable design |
| Dimensions | 210x85x82 mm | 189x95x8 mm |
| Weight | 1 kg | 0.017 kg |
| Color | white & black | silver blade |

Conclusion
Overall, installing an additional hard drive is an endeavor well within reach. Whether you’re a tech novice or a seasoned DIYer, with the right tools and precautions, you can confidently expand your laptop’s storage space. At Jakemy, we provide quality tools that assist in repair, maintenance, upgrade, etc. Continue to browse Jakemy’s website to learn more about our extensive precision screwdriver sets and other precision tools.
